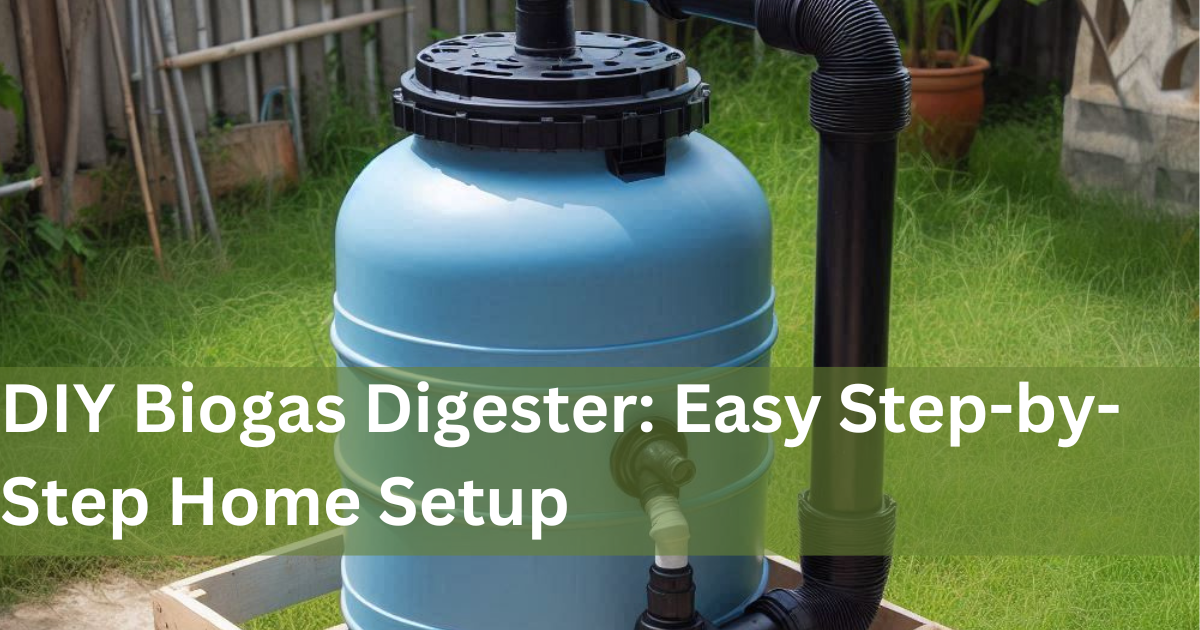
Introduction to DIY Biogas Digester
A DIY biogas digester can be set up at home to unlock sustainable energy and reduce waste. In this guide, clear instructions are provided for each step, from gathering materials to maintaining the digester, to ensure success in building an efficient system for renewable energy.
Through the guide, the process of turning organic waste into energy is explained, covering container selection, materials, and the anaerobic digestion process. Steps are outlined to construct and maintain the digester, along with tips for troubleshooting common issues. Clean energy is made achievable in your backyard with a DIY biogas digester.
DIY Biogas Digester Important Parts
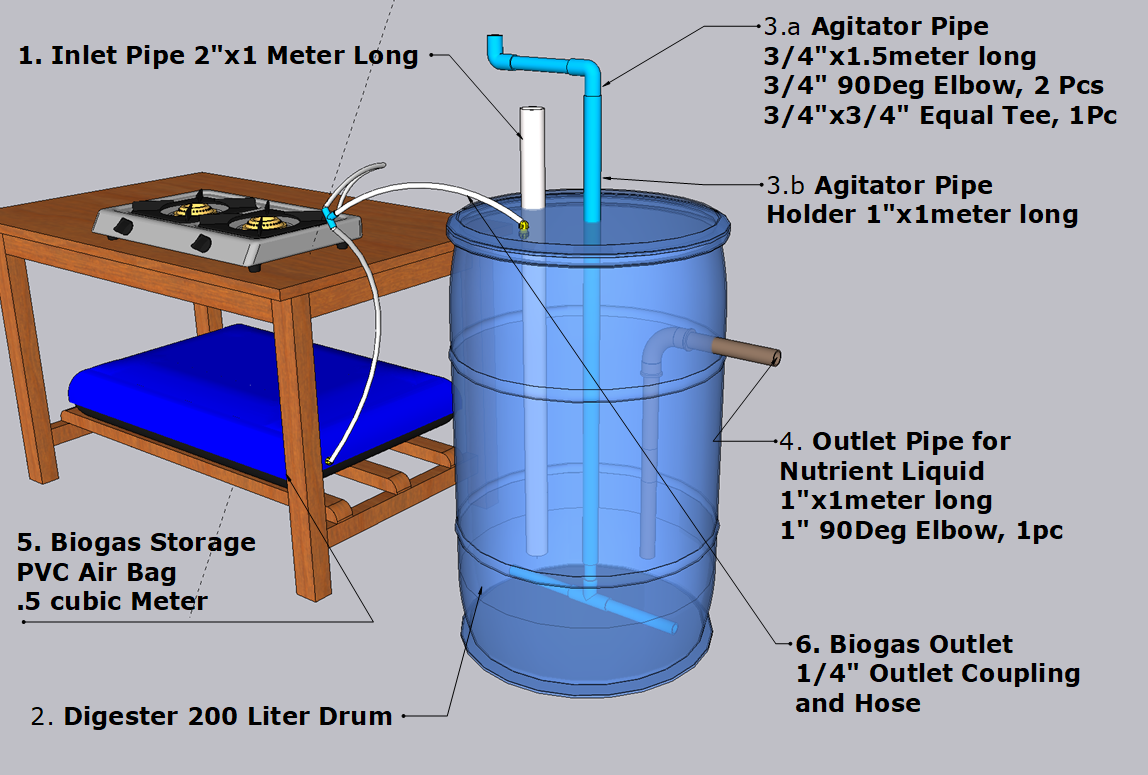
- Inlet Pipe: Organic waste, such as food scraps or manure, is added to the DIY biogas digester through the inlet pipe.
- Digester (Sealed Container): The waste is stored in a large, airtight container where anaerobic bacteria break down the organic material, producing biogas. This process typically takes about 30 days.
- Agitator: The agitator mixes the organic waste inside the digester to prevent scum formation, promote even decomposition, and release trapped gas. This enhances biogas production and prevents blockages or sediment build-up.
- 3.a Agitator Pipe
- 3.b Agitator Holder Pipe
- Outlet Pipe: The remaining liquid waste, now a nutrient-rich slurry, can be drained through the outlet pipe and used as organic fertilizer.
- Biogas Outlet: The biogas outlet directs the produced biogas from the digester to the storage bag, allowing gas to flow out of the digester, preventing pressure buildup, and ensuring safe gas collection for use in cooking, heating, or power generation.
- Biogas Storage Bag: The gas bag stores the biogas, which can then be connected to a burner, stove, or heater for energy use.
Materials Needed
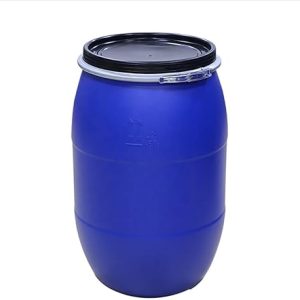
1. Biogas Digester Container: (200-liter plastic drum)
2. Inlet Pipe – PVC Pipe 2 Inch
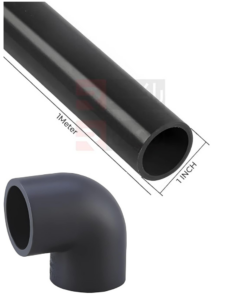
3. Outlet Pipe – PVC Pipe 1 Inch & Elbow 90 Deg
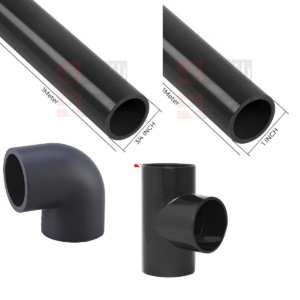
4. Agitator / Mixer Pipe – PVC Pipe 1 Inch & 3/4 Inch 2M long, 2 90Deg Elbow & 1 Pc Equal Tee
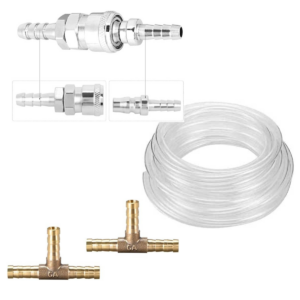
5. PVC Biogas Bag – .5 M3 Volume Capacity

6. Tools(PVC Pipe cutter, Drill with pipe drill bits and Tape Measure)

7. • ¼-Inch Air Outlet 1 Pc, ¼-Inch flexible Hose 3 meters
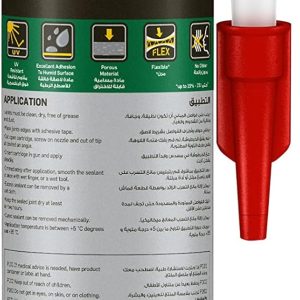
8. Silicon or Rubber Sealant
Step-by-Step Instructions:
Step 1: Preparing the Container
1. Clean the Drum:
Ensure the 200-liter plastic drum is thoroughly cleaned to remove any impurities.
2. Drill Holes:
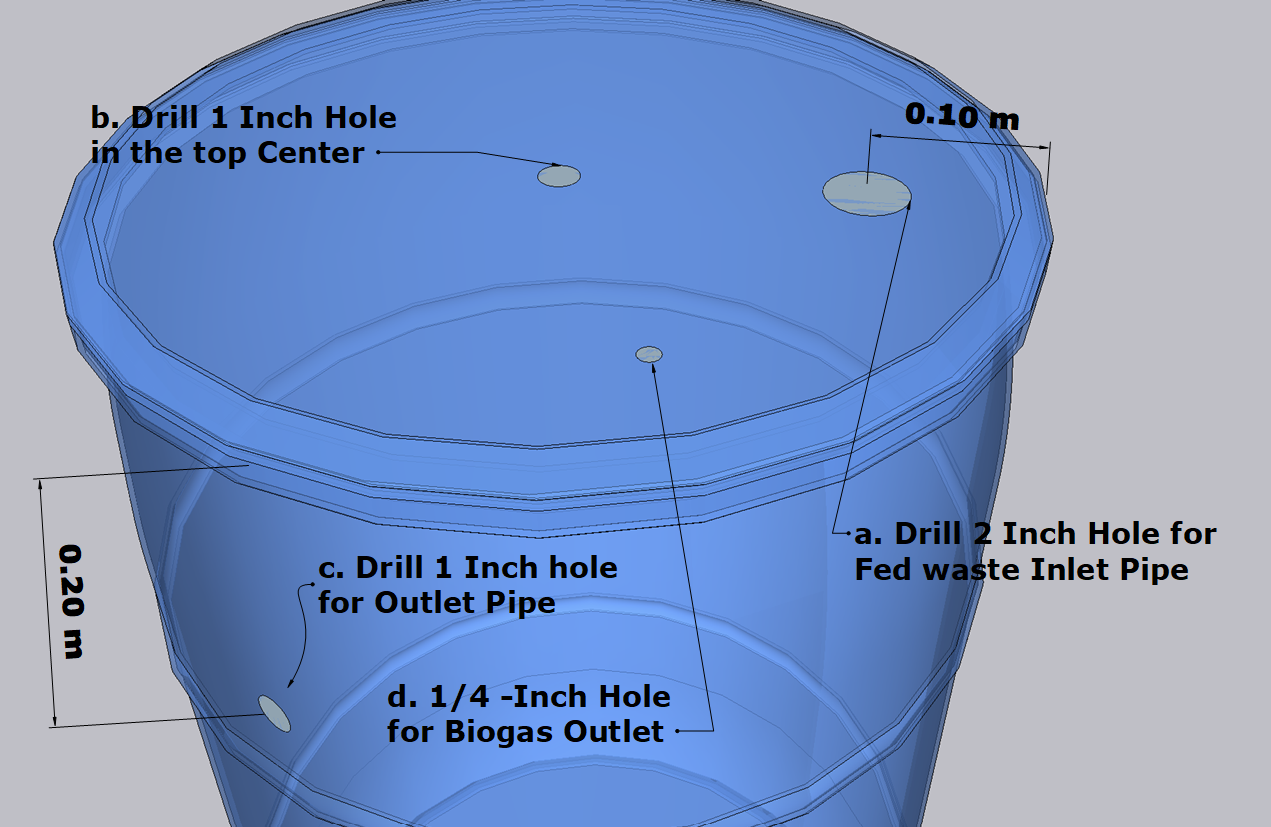
a. Drill a 2-inch diameter hole on the top about 100mm near the drum Wall for Inlet Pipe
b. Drill a 1-inch diameter hole on the top center of the drum for the Agitator Pipe
c. Drill another 1-inch diameter hole at the side of the drum for about 200mm from the top of the drum for the outlet pipe.
d. Drill 1/4 – Inch Hole at the Top of Drum for Biogas Outlet
Step 2: Cutting and Assimbling the Pipes
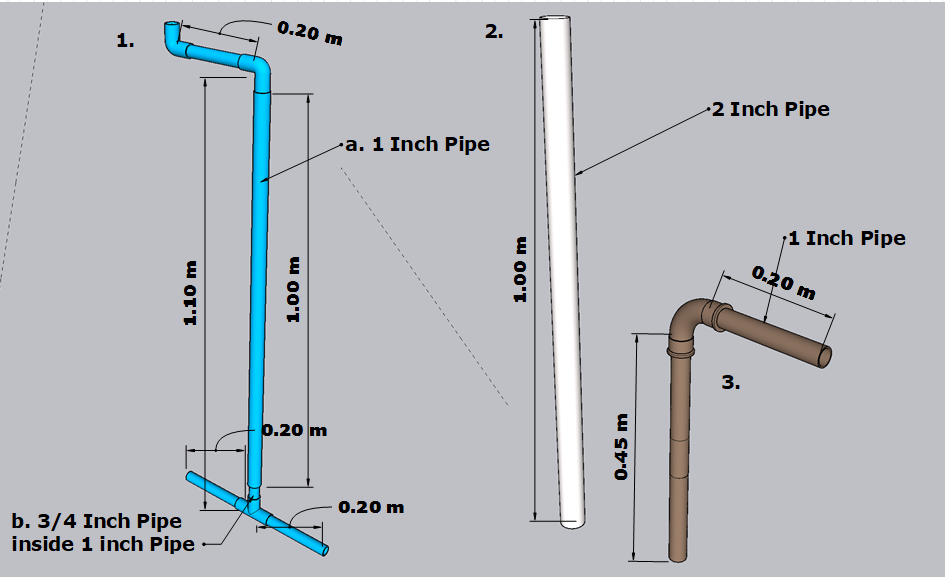
1. Agitator/Mixer Pipe:
a. Measure a 1-meter long, 1-inch pipe, then cut it. This will serve as the agitator pipe holder.
b. Measure a 1.1-meter long, 3/4-inch pipe. Then, cut three pieces, each 0.20 meters long. Assemble as shown in the image, along with 2 pieces of 3/4-inch elbow 90° and 1 piece of 3/4-inch equal tee.
2. Inlet Pipe:
a. Using Tape Measure, measure 1 meter long 2 inch pipe then Cut
3. Outlet Pipe
a.Measure a 0.20-meter long and a 0.45-meter long, 1-inch pipe. Then, cut and assemble as shown in the image.
Step 3: Install the Pipe Assimbly and seal with Sealant
1. Pipe Install:
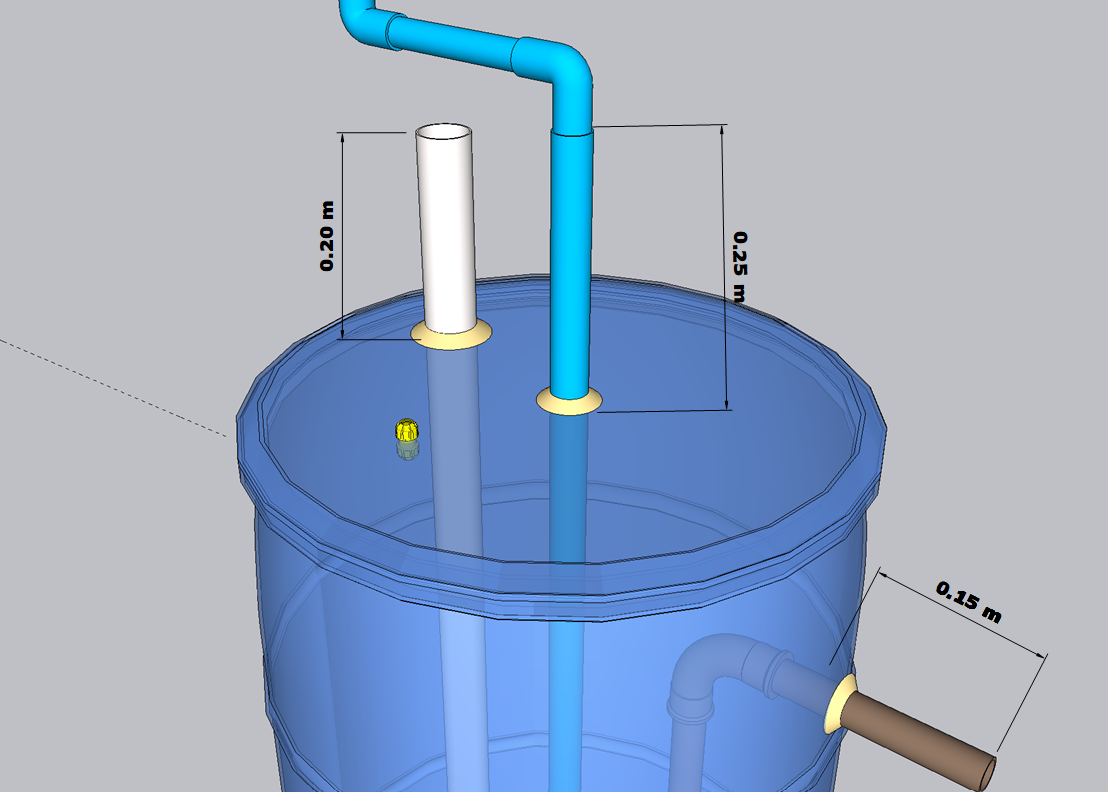
a. Install the 2-inch inlet pipe with a 0.20-meter allowance above the drum lid.
b. Install the 1-inch agitator pipe holder with a 0.25-meter allowance above the drum lid, ensuring it does not hit the inlet pipe by agitator handle when rotated.
c. Install 1-inch outlet pipe exposing Min. lenght 0.15 meter and the Air outlet above the drum lid.
2. Sealant Application:
a. Scratch the area where the sealant will be applied to ensure the adhesiveness and quality of the sealant.
b. Apply the sealant around the pipe and drum lid. I personally recommend applying a minimum of 0.01 meters or more around the pipe to ensure the quality of the sealant.
Step 4: Filling the Digester with Organic Waste
1. Add Organic Waste:
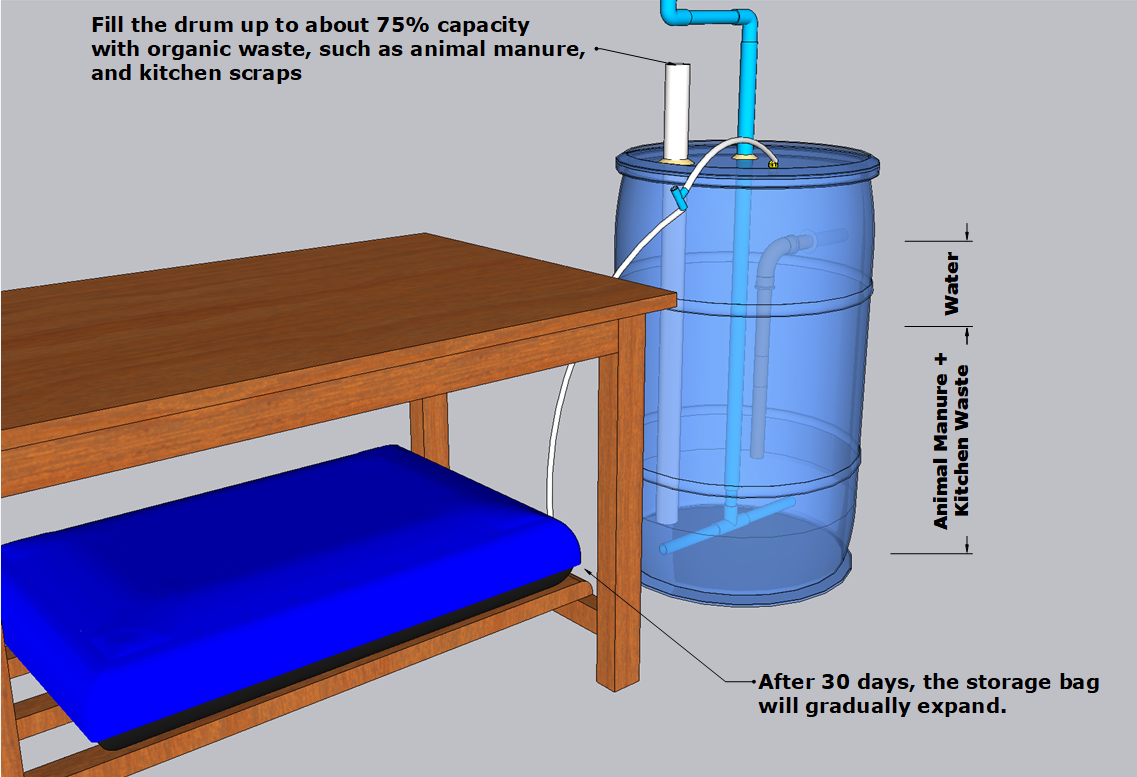
a. Fill the drum up to about 75% capacity with organic waste, such as animal manure, and kitchen scraps.
b. Pour water into the drum until you notice water drops from the outlet, which signifies the overflow level is reached. This will allow some space at the top for gas accumulation.
2. Wait:
a. Allow the organic waste to decompose anaerobically for about 30 days. This process will naturally produce biogas.
3. Monitor Gas Production:
a. Check the attached storage bag regularly to see if biogas is accumulating, changing from a shrunken to an expanded bag.
Step 5: Using the Biogas and Maintaining the Digester
1. Light the Gas:
a. Use the biogas to power a stove, heater, or light by safely igniting it. Be cautious during this step.
2. Monitor Usage:
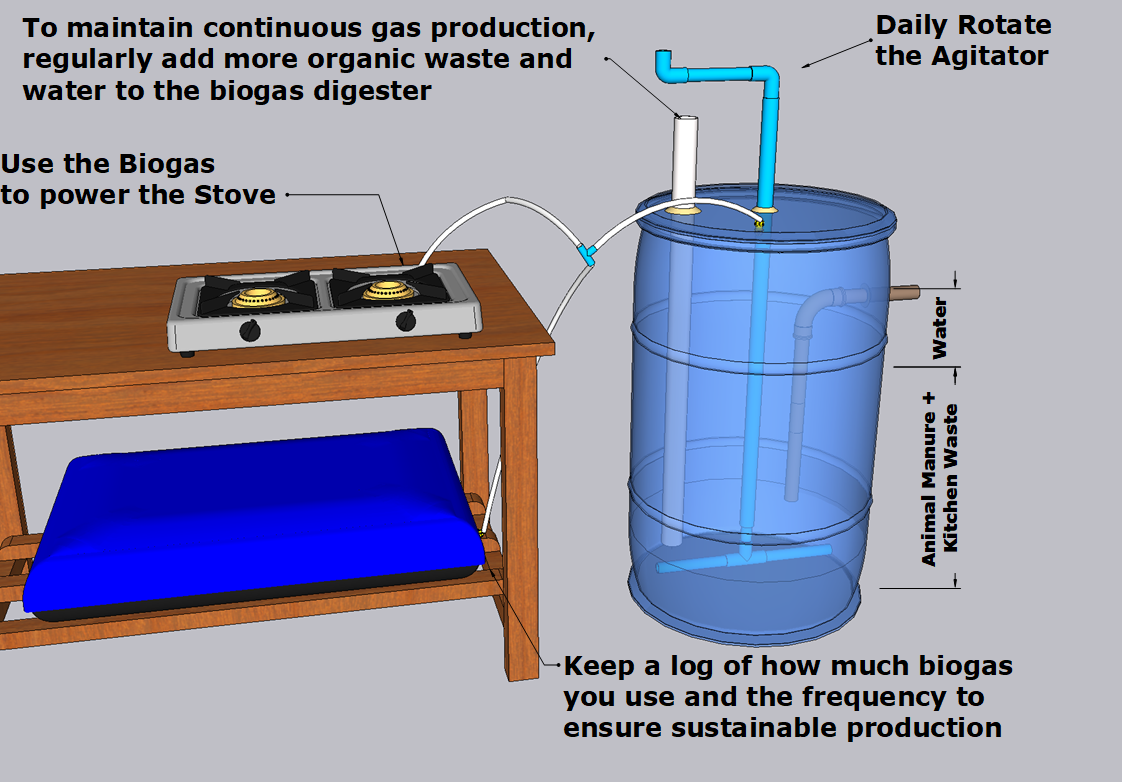
a. Keep a log of how much biogas you use and the frequency to ensure sustainable production.
3. Add More Organic Waste:
a. To maintain continuous gas production, regularly add more organic waste and water to the biogas digester.
b. Ensure both the inlet and outlet pipes remain clear of debris or blockages that could disrupt the system.
c. Daily, at the coolest time of the day when the microorganisms are not active, rotate the agitator to evenly distribute the digesting microorganisms in the newly added waste for effective biogas production.
Step 6: Troubleshooting
1. Identify Issues:
a. If biogas production slows, check for common issues like leaks, blockages, or insufficient organic waste.
2. Fix Problems:
a. Address any issues by resealing leaks, clearing blockages, or adding more waste and water to the system.
Frequently Asked Questions
Do Biogas Digester Smell Bad
A well-maintained biogas digester should not smell bad. The anaerobic digestion process that produces biogas typically takes place in a sealed environment, preventing odors from escaping. However, if there are leaks, improper sealing, or issues with the digester balance, it could emit unpleasant smells. Regular maintenance and ensuring a proper seal can help prevent any odors. If you notice a strong smell, it’s a good idea to check for leaks or any imbalances in the system.
What is Anaerobic Digester?
An anaerobic digester is a system that processes organic waste materials (like food scraps, manure, and agricultural waste) in the absence of oxygen. This process, called anaerobic digestion, breaks down the waste using microorganisms to produce biogas (mainly methane and carbon dioxide) and a nutrient-rich digestate that can be used as fertilizer. It’s a brilliant way to turn waste into renewable energy and useful byproducts, making it a win-win for sustainability and energy production.
Conclusion
By following these steps, you can build a low-cost DIY Biogas Digester that provides clean, renewable energy from waste. But if you’re looking for a faster, hassle-free solution, check out this ready-made biogas digester here. This simple system not only saves you money but also helps reduce waste and environmental impact—making it an ideal choice for anyone eager to go green effortlessly.
Discover more Green Energy DIYs and start slashing up to 60% off your energy bills—explore now!

